VMware Snapshots and Clone makes administrators life easy. Think about old typical Physical servers and its software upgrade or security patching. If anything corrupted during the patching or upgrade, Your day will be screwed up with restoring your server from tape back. Can’t even imagine now rite. VMware Simplified the server operations a lot. Just take a VM snapshot before making any changes to your virtual machine. It allows you to revert back to the state where virtual machine was before the changes in just a single click. I have been asked by OS support team many times that “can we Create a VM Clone from a Snapshot”. I said no multiple times because we don’t have that option in vSphere. You can create a VM clone from a Snapshot and this option is available with Horizon View Composer via linked Clones and in VMware Workstation. In this article, I will cover how to Create a VM clone from a Snapshot in VMware Workstation. Take a look at the article to understand the difference between Clone and Snapshot.
There may be multiple scenarios such as you worked on installing or Configuring some software or performing multiple changes to your virtual machine and you have taken a snapshot prior to each of the changes. Once your testing is completed, you may need to covert a particular state of the virtual machine as a New virtual machine to begin with the actual deployments. This option of clone a New VM from Snapshot will help you to achieve this.
How to Create a VM Clone from a Snapshot in VMware Workstation
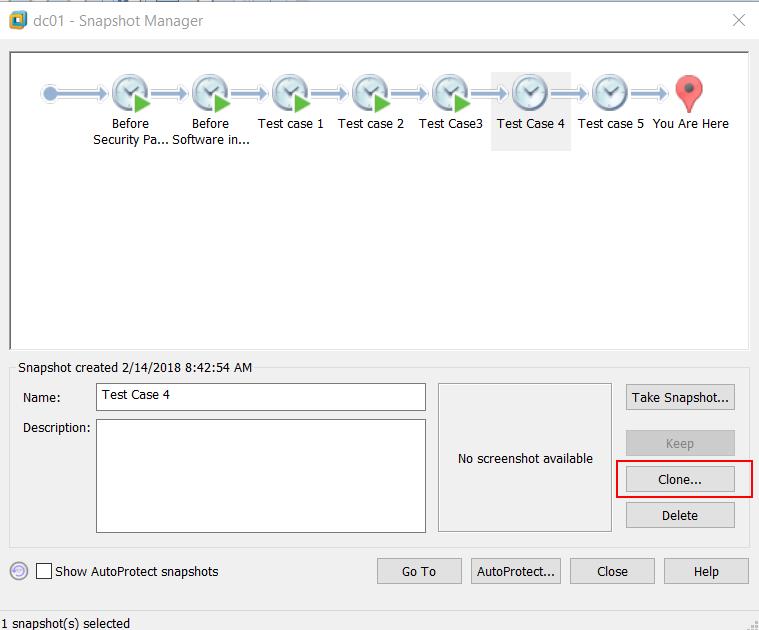
I have a virtual machine called “dc01” running in VMware Workstation. I have multiple test cases on the virtual machine and took multiple snapshots.
Please Note: You need to power off the virtual machine before taking the snapshot if you have the plan to clone it as a new VM from that snapshot.
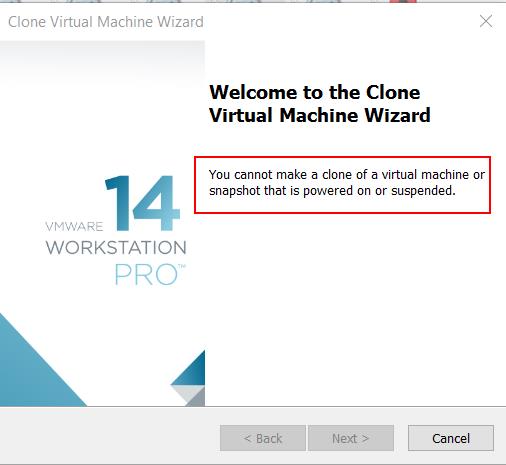
VMware Workstation will not allow you to make a clone of a virtual machine or Snapshot that is powered on or Suspended state. If I try to Clone a virtual machine from Snapshot which was taken when the virtual machine was powered on. It throws the below error.
Select the Snapshot Which you want to Clone as a New VM. You can only select the VM snapshot which was taken when VM is in the Powered off state.
I took 2 Snapshots ‘Test Case 4 and Test Case 5″ when VM was in powered off state and remaining 5 snapshots are taken when VM is in Powered on state. I have selected the Test Case 4 Snapshot and click on Clone option.
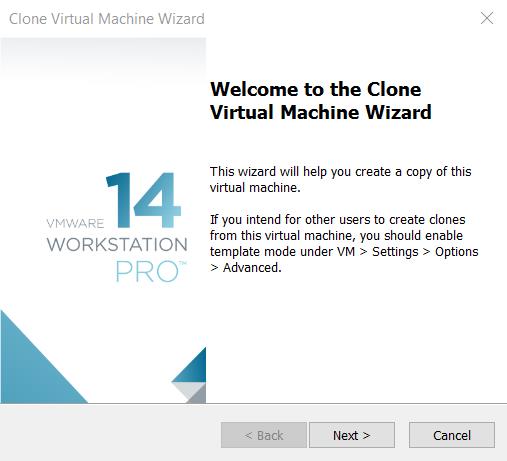
Click Next to continue with Clone Virtual Machine Wizard.
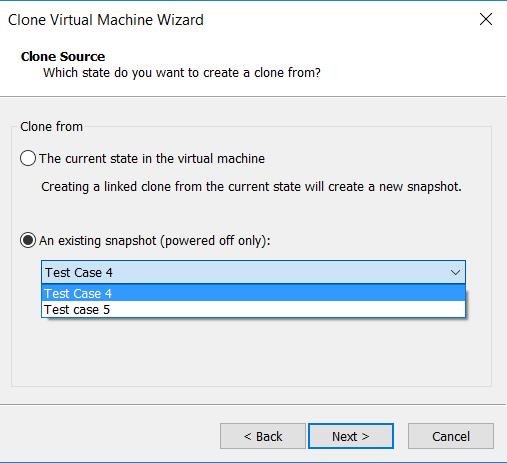
Select the Snapshots from the drop-down under existing Snapshot (Powered off Only) option. It only lists 2 snapshots which were taken when the virtual machine was in the powered off state. Click Next.
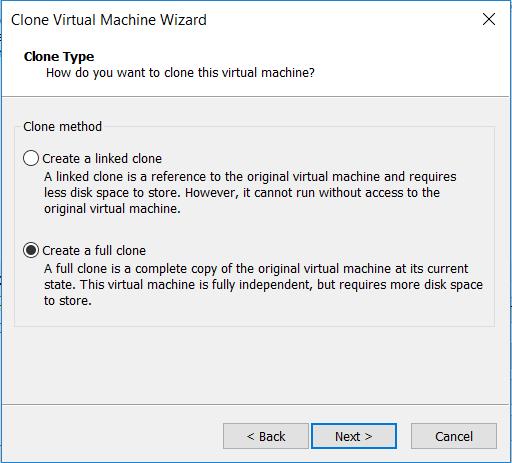
Select the Clone Type either Linked Clone or Full Clone. Click Next.
Linked Clone: A linked Clone is a reference to the original virtual machine and requires less disk space for storage. However, it cannot run without access to the original virtual machine. If you have deleted the old virtual machine, Cloned VM using linked clone option will be inaccessible.
Full Clone: A Full clone is a complete copy of the original virtual machine at its current state. This virtual machine is fully independent but requires more disk space.
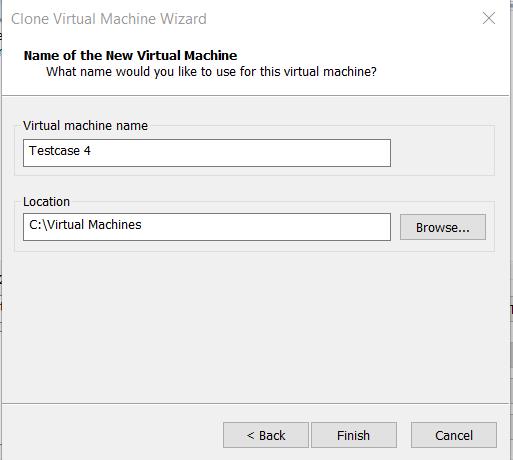
Type the virtual machine name and location to store. Click Finish.
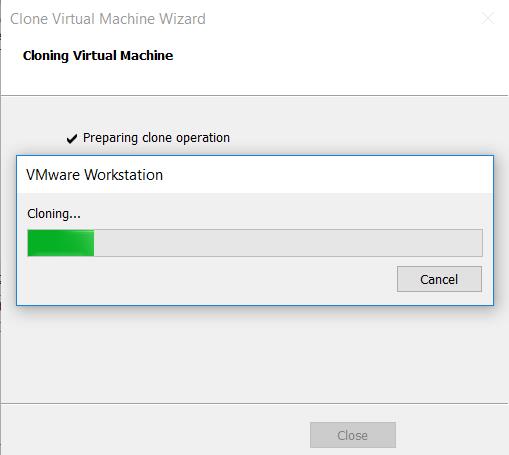
Clone of the virtual machine from the snapshot is started.
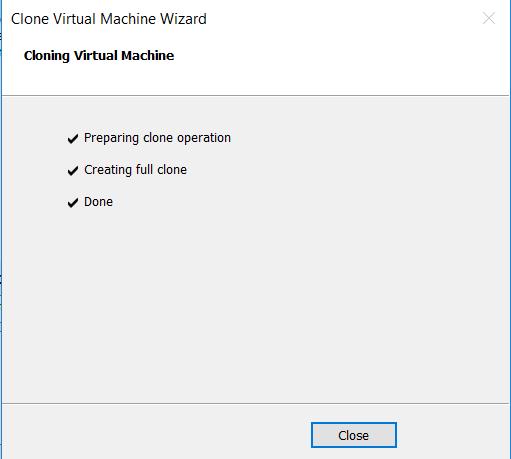
Clone operation from the snapshot is completed. Click Close.
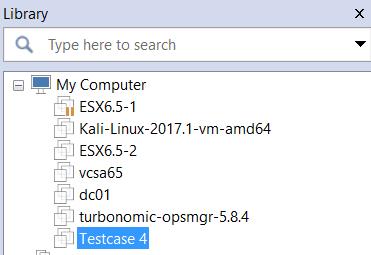
New Cloned virtual machine called “TestCase 4” is created from the snapshot of the virtual machine.
That’s it. we are done. I hope this is informative for you. Thanks for Reading!!!. Be social and share it with social media, if you feel worth sharing it.


