Microsoft Hyper-V Server 2016 is a stand-alone hypervisor product that contains only the Windows hypervisor, a Windows Server driver model, and virtualization components. It provides a simple and reliable virtualization solution to help you improve your server utilization and reduce costs. Here is an excellent comparison between VMware and Hyper-V (VMware vs Hyper-V). Hyper-V enables you to create and manage a virtualized computing environment by using virtualization technology. There are three ways where you can install Microsoft hyper-v 2016.
- Having the Hyper-V role on a Windows Server 2016(full installation)
- Having the Hyper-V role on a Windows Server 2016(core installation)
- Using the Free Hyper-V Server 2016
The Windows hypervisor technology in Microsoft Hyper-V Server 2016 is the same as what’s in the Hyper-V role on Windows Server 2016. So, much of the content available for the Hyper-V role on Windows Server 2016 also applies to Microsoft Hyper-V Server 2016. In this post, we are going to discuss how to install Microsoft Hyper-v server 2016.
Take a look at the detailed video to Install & Configure Microsoft Hyper-V server 2016/2019. Please do subscribe to the VMware Arena’s Youtube Channel
Install Microsoft Hyper-V Server 2016
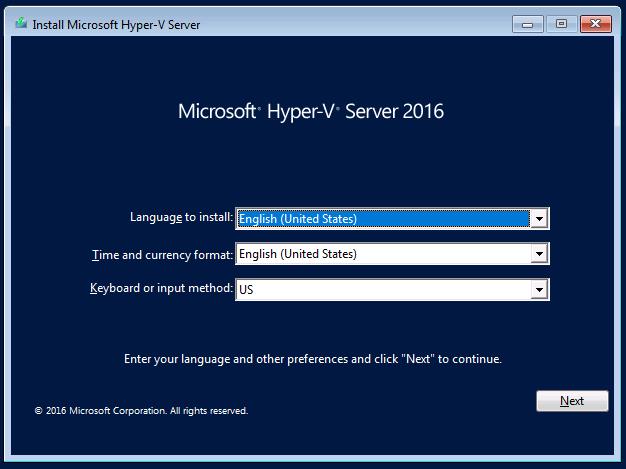
Once the.ISO is burned to a DVD, you can boot the server upon the Hyper-v 2016 ISO image. Select the language to install, Time format and Keyboard method and Click on Next.
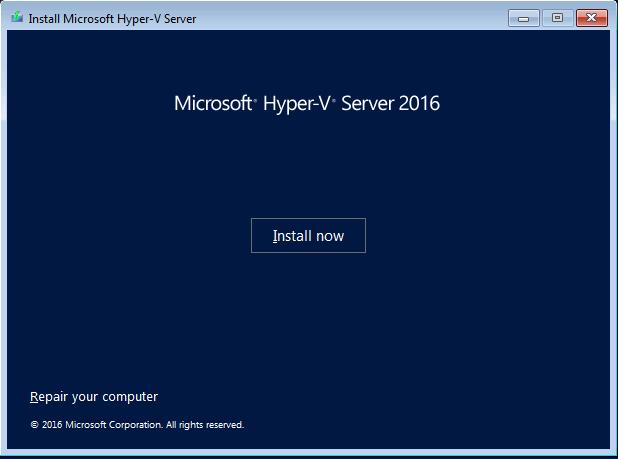
Click on Install Now to start the installation wizard of Microsoft Hyper-V Server 2016
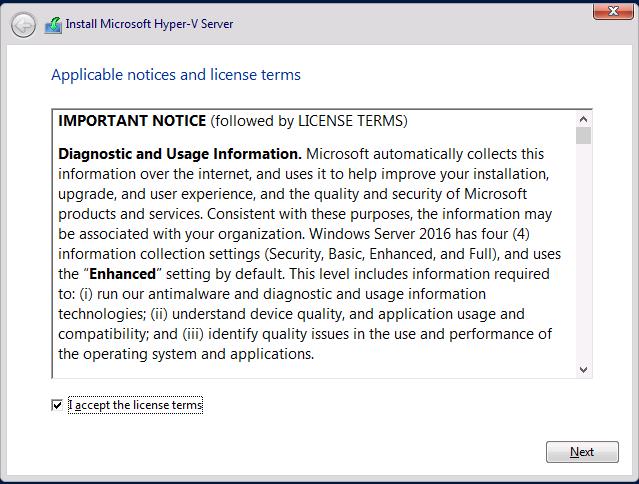
Click on “I accept the license terms” to accept the license terms to Install Microsoft Hyper-V server 2016 and click Next.
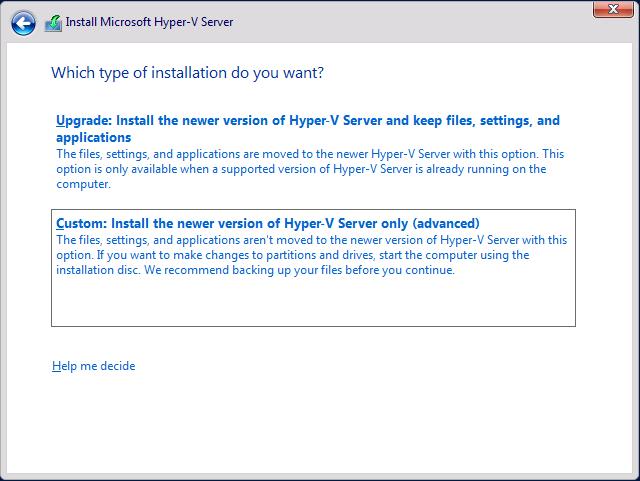
Installation type will provide you two options. The first one is for Upgrade. If you want to upgrade your Hyper-V 2012 to Hyper-V 2016, You can select the “Upgrade” option. For Fresh Installation, Select “Custom” Install the newer version of Hyper-V Server only”
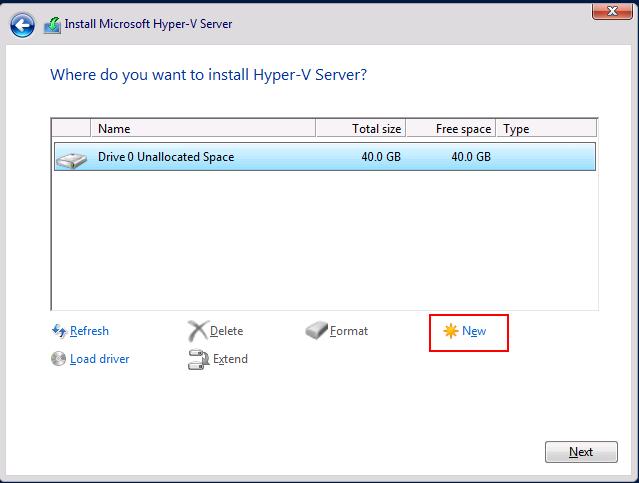
Next step will allow you to decide where you want to install Microsoft Hyper-V Server 2016. In this example, I have a server with 40 GB disk drive installed. You can even create new partitions on the disk for the Hyper-V 2016 installation. Click on New to create a new partition.
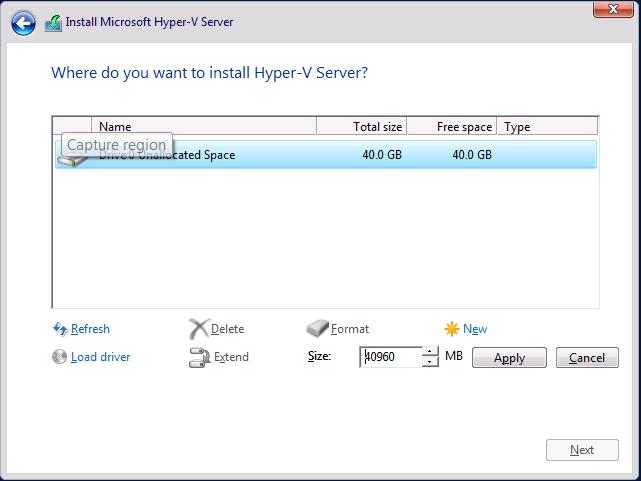
Enter the Size in MB for the New partition and click on Apply.
New partition will be created and select the newly created partition and click on Next to start the installation of Microsoft Hyper-V server 2016.
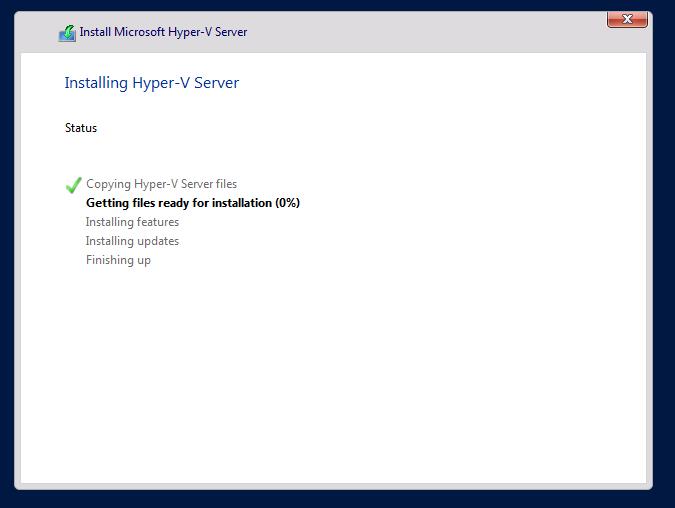
The installation will start and proceed through the series of steps to complete the Hyper-V 2016 installation.
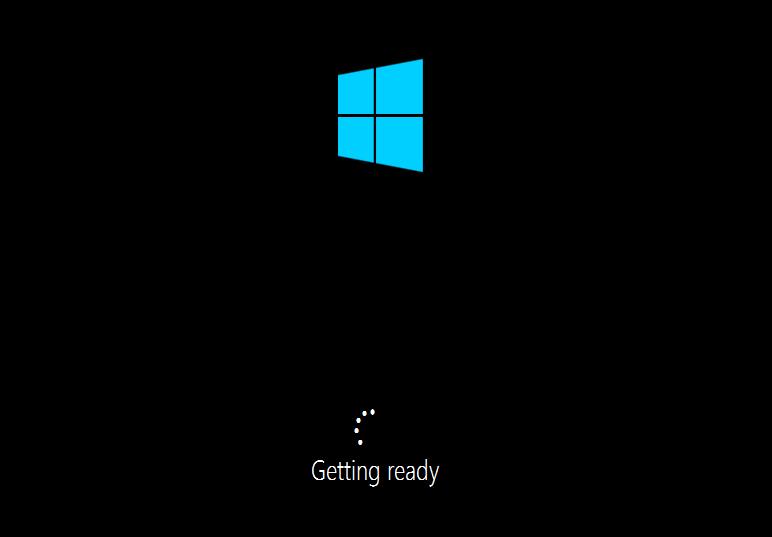
Once the installation is completed, Your server will boot up into the HYper-V Server 2016.
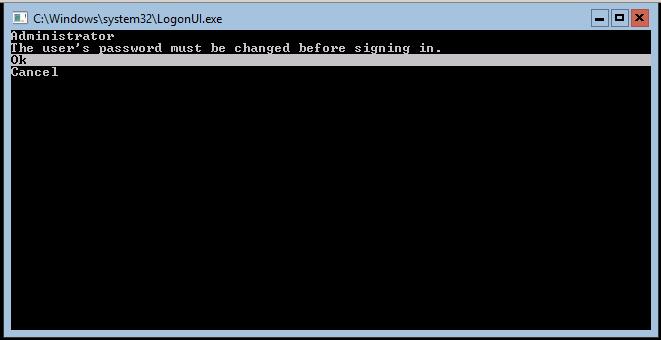
Once the installation is completed, Server will into Microsoft Hyper-V Server 2016 and it will prompt you to change the Administrator password before signing in on first time on the server.
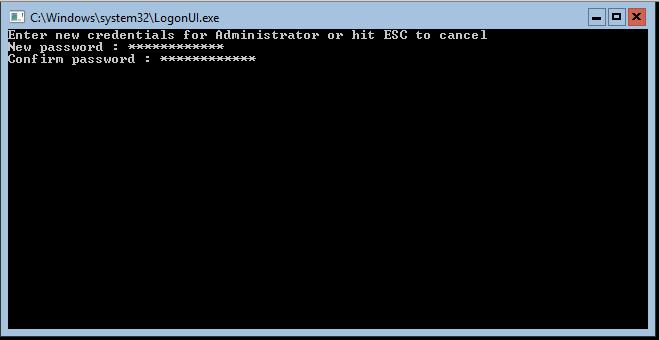
Enter the New password for the administrator account and confirm the password and Hit Enter to change the password for the administrator account.
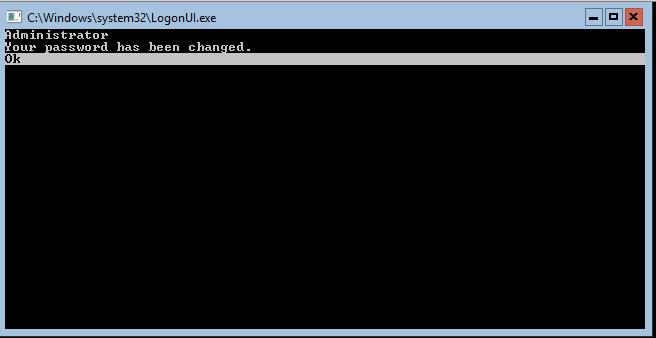
Once the password is updated. You will be able to login to the Microsoft Hyper-V 2016 Server.
Once you logged into the server, You will be able to configure the Microsoft Hyper-V Server 2016 using the below “Sconfig.cmd” command line. That’s it. We are done with the installation of the Microsoft Hyper-V 2016 Server. We will take a look at the Configuration of Microsoft Hyper-V 2016 in the upcoming articles. Thanks for Reading!!! I hope this post will be informative for you. Be social and share it on social media.


