CimTrak is works by detecting additions, deletions,modifications and reads of files and configurations.Upon initial configuration, CimTrak takes a “snapshot”of the files and configurations that you need to monitor. It creates a cryptographic hash of the files and configurations and stores them securely in the CimTrak Master Repository. This establishes a known,good baseline. From there, CimTrak receives data from the various CimTrak agents and modules. When the data received does not match the cryptographic hash of a particular file or configuration, a change has occurred and CimTrak takes action. Depending on how CimTrak is configured, alerts via SMTP and syslog are sent out and instant or manual change remediation can take place if desired.
In my previous posts, we have discussed about installation of CimTrak Master Repository and CimTrak Management console installation. Once you are done with both the steps. Next step is to associate management console with cimtrak master repository. CimTrak Management Console must be associated with a CimTrak Master Repository before any configurations and process review may occur. Once associate is completed, It allows to proceed with the configuration of your File integrity monitoring software.
File Integrity Monitoring Software configurtion – Associating Management Console with Master Repository
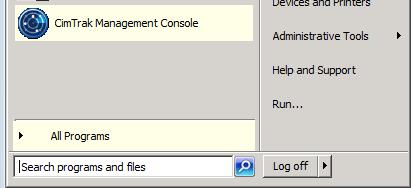
Login to server in which CimTrak Management Console is installed and launch the CimTrak Management Console.
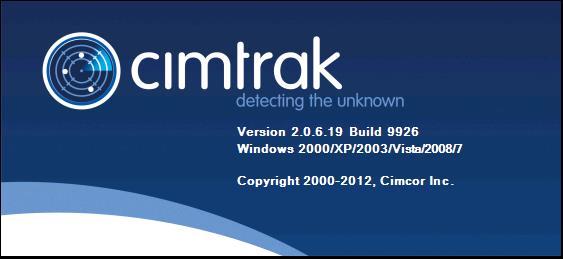
The CimTrak Management Console will display an informative splash screen indicating the version number and supported operating systems.
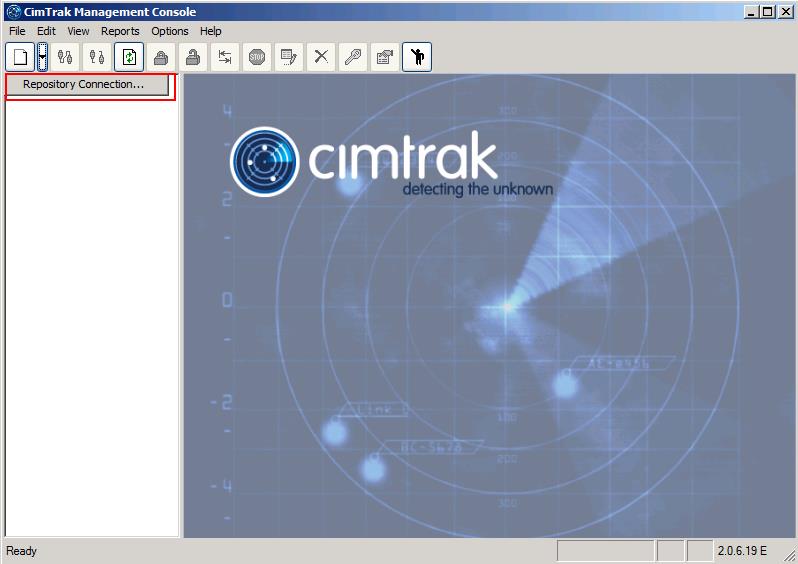
New Master Repository connection can be created by clicking the “New” button or “New” context button located on the Management Console Menu Bar. Click on “Repository Connection” to add the connection to Master Repository.
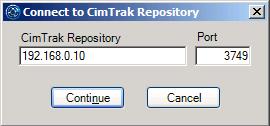
The “Connect to CimTrak Repository” dialog will appear. Enter the IPv4, IPv6, or Fully Qualified Domain Name associated with the CimTrak Master Repository. Additionally, it is necessary to populate the “Port” text box with the TCP Port associated with the Master Repository. After entering the associated Master Repository information click “Continue”. Default Port is 3749.
When the first time connection is initiated with the Master Repository, Communication Certificate must be negotiated. If you trust this repository, Click on Continue to save the certificate and connect to Master Repository.
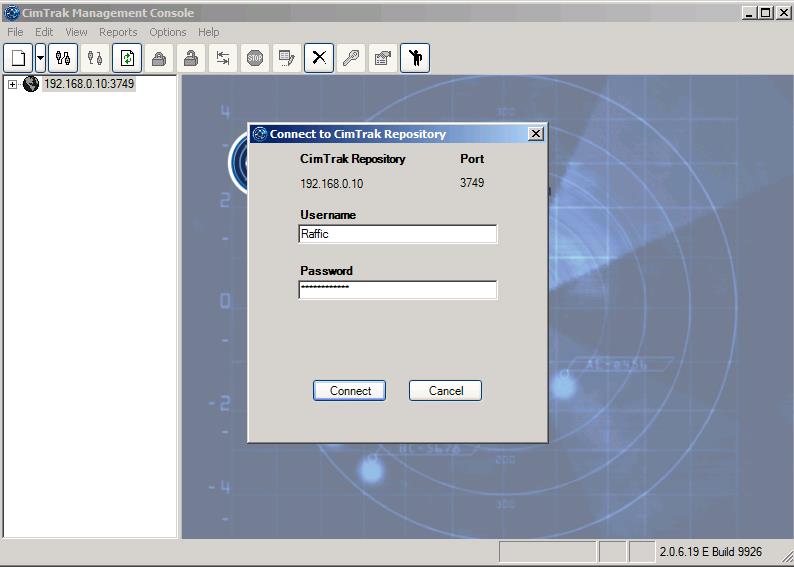
Once you have accepted the certificate, you will be able to see the master repository connected to the cimtrak management console. Enter the credentials for the CimTrak Master Repository and click on Connect.
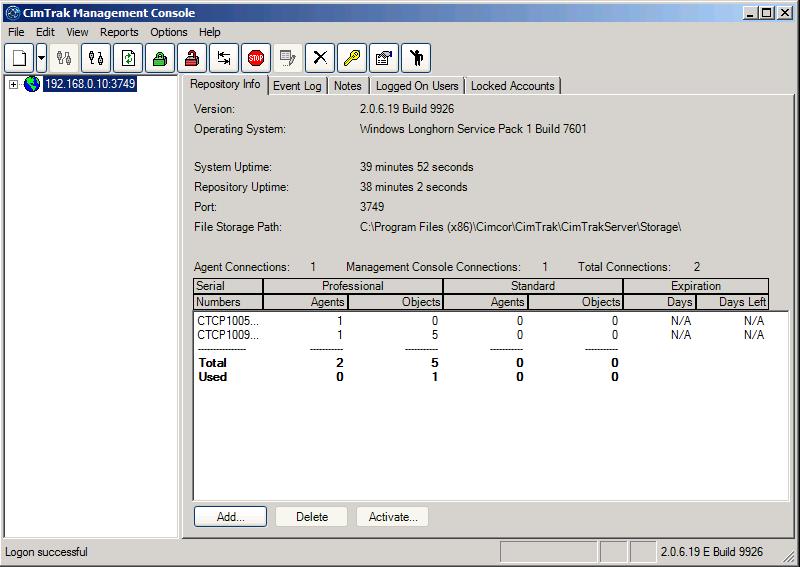
Once you are connected, you will be able to see information about the cimtrak Master Respository from the management console.
That’s it we are done with the initial configuration of our favorite File Integrity Monitoring Software “CimTrak“. I hope this is informative for you. Thanks for Reading!!!. Be social and share it in social media, if you feel worth sharing it.


